Pages

Showing posts with label adobe premiere pro. Show all posts

Wednesday, 4 September 2013

Editing Garden Art 2

The First thing i wanted to do was to create a cut out logo with video behind for this project. i tried various way such as using text mask in after effects which i learned how to do from this video: http://tv.adobe.com/watch/short-and-suite/making-text-masks-in-after-effects/
But after trying that i felt that the text wasn't as crisp as i would have liked so i decided to chroma key the text out and place the text on the layer on top of the video. (i created the text in photoshop to make colour keying easier).
Below are 3 different logos i tried.
Screen Shot 2013-09-02 at 13.31.10 Screen Shot 2013-09-02 at 12.17.13 Screen Shot 2013-09-02 at 13.26.16


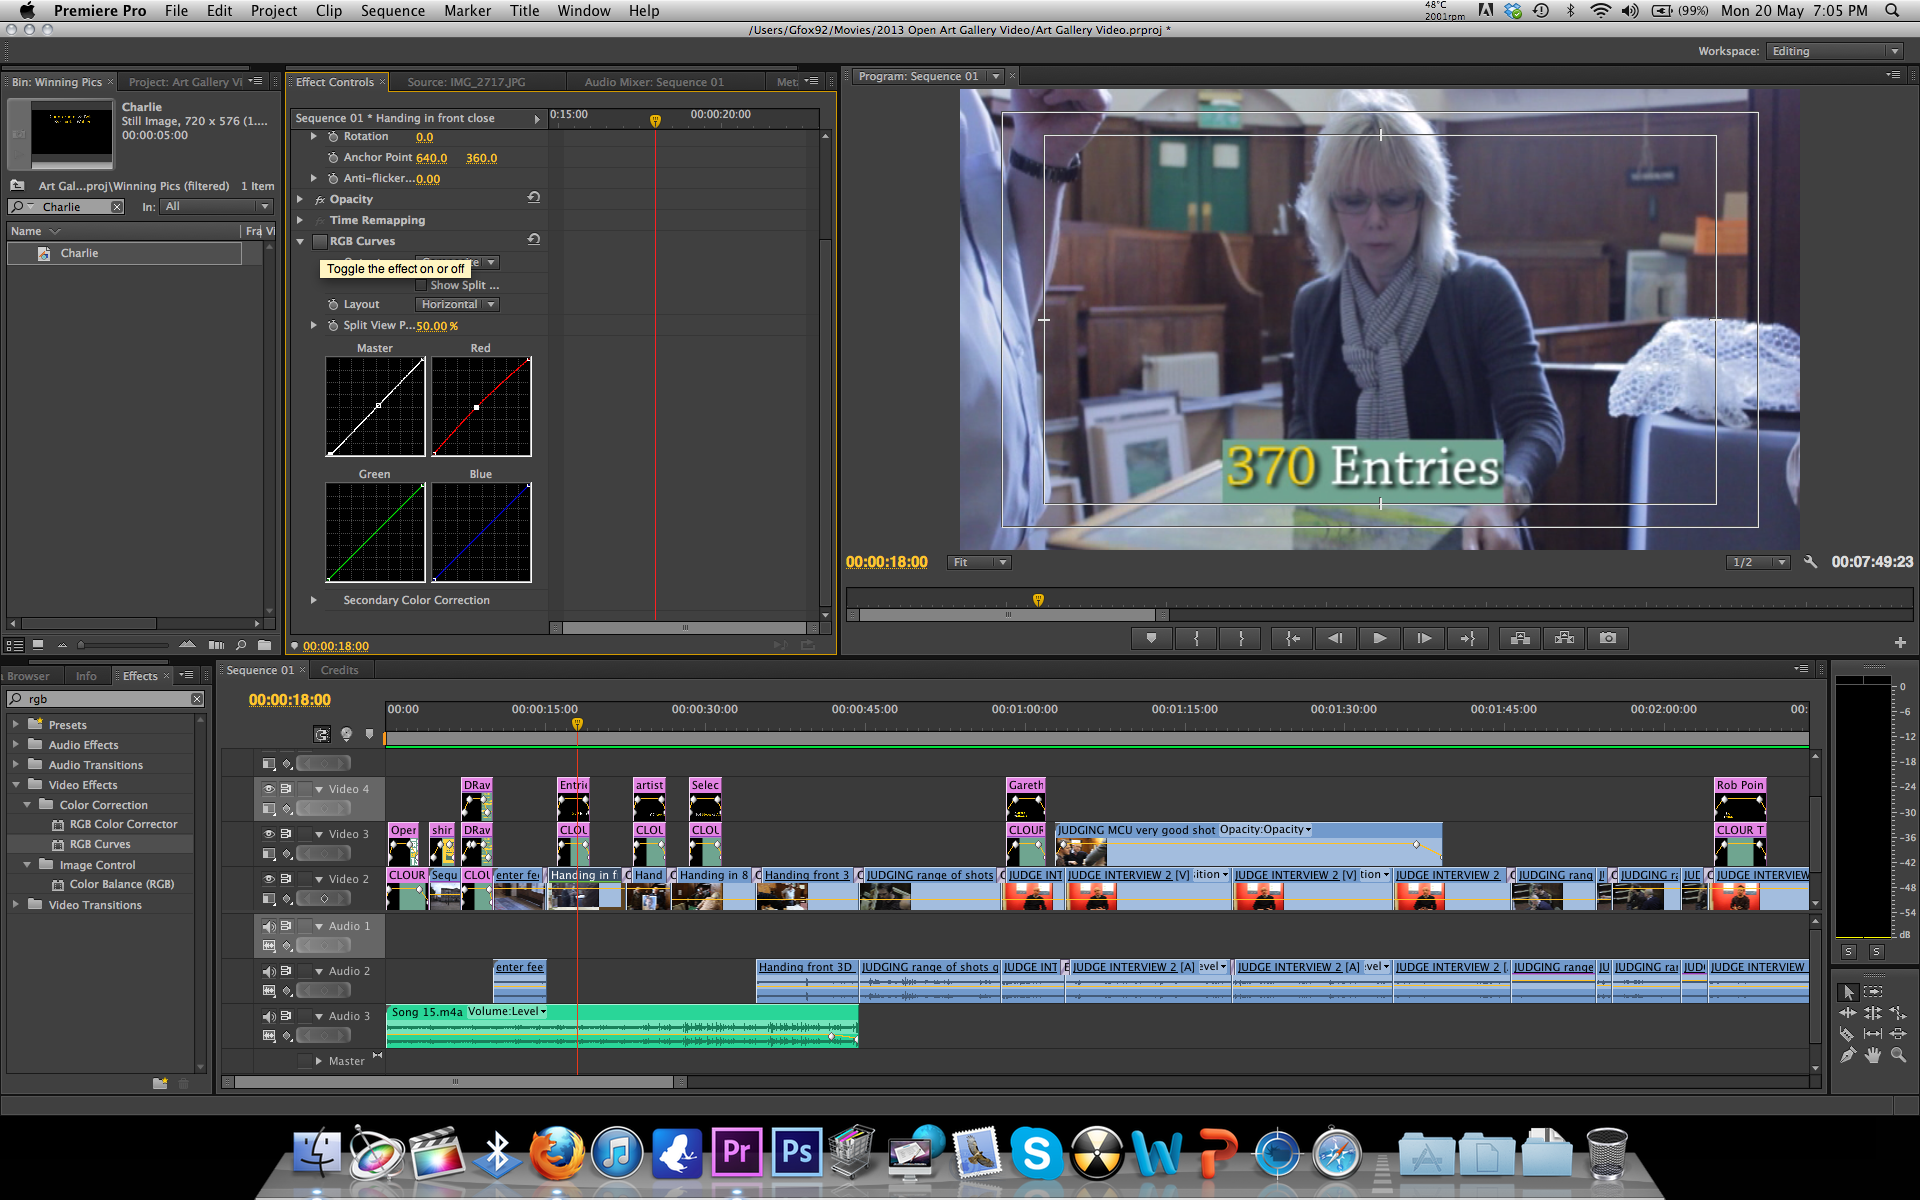
The next thing i did was to colour correct the video using RGB curves. i like to colour correct using RGB curves as i feel i have more control over the colours. This meant i could make the sky bluer and the trees greener making them stand out more and look more clear as can be seen in the pictures below.

Screen Shot 2013-09-02 at 12.17.17 Screen Shot 2013-09-02 at 12.17.06 Screen Shot 2013-09-02 at 12.43.06 Screen Shot 2013-09-02 at 12.43.08 Screen Shot 2013-09-02 at 12.43.21 Screen Shot 2013-09-02 at 12.46.29 Screen Shot 2013-09-02 at 12.46.31


After completing the colour correction i then re watched the video changing a few minor parts and then exported and uploaded the video which you can see in a previous post.

Thursday, 22 August 2013

Saturday, 17 August 2013

Banshee New Sheriff Trailer

i decided to do another trailer for the Cinemax TV show Banshee.
This time i took every episode cutting them up scene by scene and deleting the scenes i did not wish to use. i then chopped up my favourite bits and put them over a 2 minute clip of the sheriff being sworn in.

the trailer can be seen here:

http://www.youtube.com/watch?v=hDKrl48kHfo&feature=youtu.be

Tuesday, 6 August 2013

Creating Gfox Logo/Ident

Today i decided to create a Logo and an Ident for Gfox Productions the name i am hoping to use for video production.
I started by choosing a font in photoshop and adding a fox tail to the end of the logo. I then took the same gradient used on the tail to the text to make it look like one object instead of 2 separate objects.
The image below shows the text part done and shows me testing to see what the logo looks like.
Screen shot 2013-08-06 at 19.01.02
I then finished applying the gradient to the text and removed the background.
Screen shot 2013-08-06 at 19.00.26
I then merged all the graphics that make up the text part of the logo and then did the same for the tail leaving me with 2 layers. this is so that i can manipulate both the text and the tail in after effects.
I then imported the layers separately into after effects. here i added an effect as if the tail was growing from the text. I then added the word 'productions' under the Logo and added an effect as if the text was being typed.Screen shot 2013-08-06 at 19.01.47
After completing the animation in after effects i then exported (via adobe dynamic link) the footage to premiere pro where i then faded the ident in for 2 seconds and out for 2 seconds (I could have done this in after effects but found it easier and less time consuming to do it in premiere pro). I then added sound effects for the tail growing from the text and then a typing sound for the productions part (again something i could have done in after effects but found it easier in premiere pro)
Screen shot 2013-08-06 at 18.58.56
A link to the final animated ident can be seen below.
https://vimeo.com/71835211

Saturday, 3 August 2013

Learning While Editing

Today while editing in Adobe Premiere Pro i stumbled across a short cut for razoring clips.
My normal way to do this would be to place the guide on the point of the clip that i wish to razor and then select the razor tool and click on top of the guide. Well today i found that i can simply place the guide on the desired point and press cmd + k (Mac) cntrl +k (windows), this simply razors the clip at that point and when using the razor tool a lot as i have been today you save a lot of time using this method.

GTA V Trailer

Today i decided to edit an extended version of the upcoming Rockstar game GTA V.
I took all of the existing trailers and mixed them together to make an extended trailer, i swapped out footage from different sections of trailers with other footage. I then extended the soundtrack to the trailers by identifying the track used and replacing it with a long version of the clip.
I split the trailer into 3 sections to focus on the 3 main characters, each with an individual song used in a previous trailer.
The trailer is currently 8 minutes long and i am currently colour correcting it.
Below is a screen shot of me editing footage in Adobe Premiere Pro.
Screen shot 2013-08-03 at 14.40.21

Tuesday, 16 July 2013

Garden Art Video (editing)

Yesterday i edited and uploaded the garden art video i did.
i found that the sound of the video on a whole was good and needed very little editing, that said some of the sound clips had  a lorry in the background so i simply changed the sound of said clip with the sound from another clip.
Some of the shots I had to crop, trim, change the speed of and colour correct.
I achieved what i wanted with this project which looks arty and abstract which is exactly what i aimed for.
you can view the video in full HD on the link below.
https://vimeo.com/70286684

Saturday, 6 July 2013

Editing Existing Footage of The TV Show Banshee

Today I edited together some existing footage of the TV show Banshee.
I took episode one and edited it down to a 3 min extended trailer.
I kept the edit sharp and snappy by using quick cuts and shots that were full of action.
I am hoping to do more of these videos for more episodes in the series before finally doing a Season Trailer.
You can view this video on vimeo via the link below.

https://vimeo.com/69754190

Sunday, 2 June 2013

Editing/Colour Correcting Elite Training Video

I've found that as this video was filmed in a garage with no additional lighting the natural light combined with the florescent bulbs give everything a blue tint.
To correct this i have combined levels with RGB curves in Adobe Premiere Pro, adjusting the brightness and the blue levels of the clips.
This makes the clips look a lot more natural and makes the images seem sharper and clearer.

Before

Screen shot 2013-06-02 at 11.57.26

After

Screen shot 2013-06-02 at 11.57.29

Saturday, 25 May 2013

Colour Correcting Open Art Stills

I decided that the still images i had used in the open art video were a little bit dull. so rather than editing them in photoshop which i felt would be time consuming and would have the same effect of colour correcting in premiere. I used RGB curves, i upped the brightness and took down the green colouring as the back ground was a yellow colour, this made the pictures stand out from the background.

Before

Screen shot 2013-05-25 at 11.14.56

After

Screen shot 2013-05-25 at 11.14.51

BeforeScreen shot 2013-05-25 at 11.15.25

AfterScreen shot 2013-05-25 at 11.15.07

I feel that the pictures are a lot brighter and alot easier on the eye when colour corrected.

Editing Over Exposed Background objects

Right this might seem like a bit of a bodge-job but it worked.
i had a shot that was fine in colour and lighting but was devalued by over exposed white boards in the back of the shot. i tried adjusting the brightness of the clip and colour correcting the clip both of which effected the subjects in the foreground to much making the clip look dull and lifeless.
i then decided that i would overlay the video with itself on the adobe timeline twice, i then cropped out everything except the board to the left applied the tool RGB Curves and adjusted the brightness and colours untill the board was no longer over exposed. i then repeated this technique for the second board.
Below you can see the before and after images. This technique worked for me as the moving foreground images did not at any point in the video cross the overexposed background image if they had i would have not been able to use this technique.

Before

 Screen shot 2013-05-21 at 11.31.16

After

Screen shot 2013-05-21 at 11.31.12

Before

Screen shot 2013-05-21 at 12.28.48

After

Screen shot 2013-05-21 at 12.29.03

Thursday, 23 May 2013

Meeting Open Art - Folders in Premiere

Yesterday i met with my client from the Shire Hall Art Gallery in Stafford so that she could view the first draft of the video i am doing for the Open Art Exhibition.
We watched the video through together and decided to change a few things such as the title colour and change the order of the presentation evening so that the award is given and then followed by the interview of that winner, whereas before all the awards were given back to back followed by the interviews all being grouped together.
I have also found that creating folders in Adobe Premiere Pro is a brilliant way to group footage. as i've grouped all footage based on what day they were filmed on making it easier to find the footage i need when i need it.
Tomorrow i am meeting the client again for another viewing and hopefully the video will be up and displayed in the gallery come this Saturday.

Tuesday, 21 May 2013

Colour Correcting Open Art

Finished Editing the open art video for the Shire Hall Gallery in Stafford.
I Finished off by colour correcting the video making all shots look very natural as can be seen below.

Before

 Screen shot 2013-05-20 at 19.05.51

After

Screen shot 2013-05-20 at 19.05.54

Saturday, 11 May 2013

Filming Drama

Yesterday i filmed the last scene for my drama.
Filming was a success as i got all the footage i needed quickly and efficiently.
I used my Gopro camera again for Point of view shots something that it is perfect for.
i also played about with pulling focus during shots, this is something that i have been cautious of doing before as i have been worried of messing it up but after a couple of attempts i succeeded with the shot which i am very pleased about.
since then i have edited all the footage together. i had a few minor issues with sound which i sorted through splicing together bits of sound from other clips. i then colour corrected the entire project, some shots were very dark but through some minor adjustments the problem was sorted.
Before
Screen shot 2013-05-09 at 22.26.15
After Screen shot 2013-05-09 at 22.26.19

Friday, 15 March 2013

Editing foundations to employment

I have now done everything that i can with the audio. I found that the best solution was for me to lower the volume of the clip and put a constant grain sound on the clip which masks the annoying background noise.
Another thing that i have found very useful which I had not used before is the RGB Curves tool in Premiere Pro for colour correcting. A tool i will be using again in future with the Levels tool.
Below are before and after pictures of the colour correcting I have done.

Before

Image

After

Image
As you can see in the second picture the shadows on the subjects face and background have been reduced and the light in whole looks a lot more natural.

Thursday, 14 March 2013

Editing (foundations to employment)

My Edit for Staffordshire County Coucil's Foundations to Employment is nearly complete
one thing I am tampering is editing the sound in Soundbooth as there is an annoying dog barking sound in the background. unfortunately isolating the sound and deleting it leaves me with choppy unsynced footage.
Image